LiteSpeed Web Server Now With hCaptcha

In LiteSpeed Web Server 6.2.1, we added hCaptcha support to our CAPTCHA functionality.
This change comes largely because of Google’s new reCAPTCHA pricing. hCaptcha can be less expensive, and we want you to have options.
How to get started
Signing up for hCaptcha is fairly simple. Visit https://https://www.hcaptcha.com/, and sign up using either your email, Github account, or even your Google account.
You’ll end up on the dashboard where you can get started.
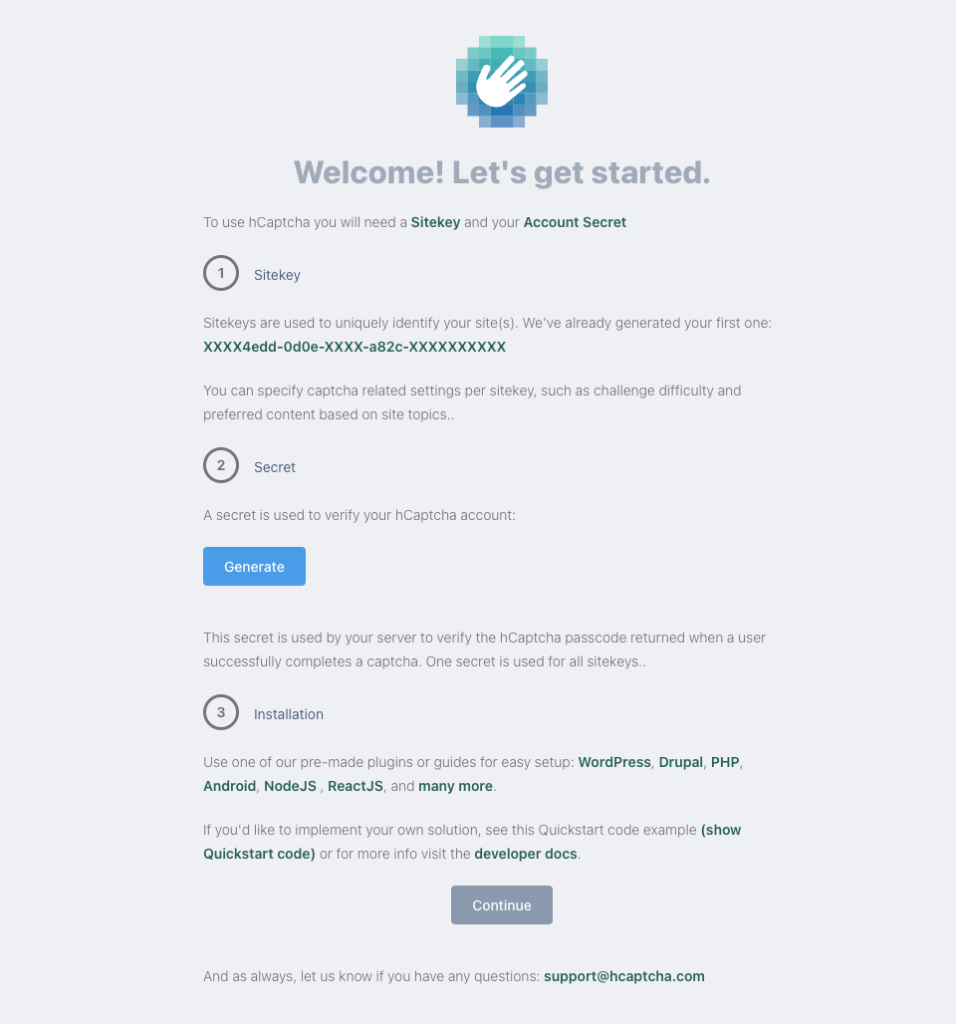
Make note of the Sitekey and then press the Generate button to get a Secret.
Note down this value! This is the only time hCaptcha will display the Secret.
In LiteSpeed Web Server WebAdmin Console, navigate to Configuration > Server > Security, and in the reCAPTCHA Protection section, define your Site Key and Secret Key with the values that you copied from the hCaptcha dashboard earlier. Select hCaptcha from the reCAPTCHA Type dropdown. Last but not least, do a graceful restart of the web server.
More information about other CAPTCHA settings can be found here.
Putting our newly added hCaptcha to good use
One of the wonderful aspects of our CAPTCHA feature, is that we can use it to prevent websites from going offline during an extended attack period.
One of the easiest ways to trigger CAPTCHA for every user on a given website is with a very simple mod_rewrite rule through .htaccess:
RewriteEngine On
RewriteRule .* - [E=verifycaptcha]
The above rule will result in all users being shown the hCaptcha, and only after completing the challenge, will they be able to view the website as normal. After completing the challenge, LiteSpeed Web Server will also mark the IP as trusted, so new challenges won’t occur for every pageview for the given IP.
While the above rule works, it’s often not ideal, since it may result in endpoints getting CAPTCHA challenges, while the clients using these endpoints cannot complete them. This could befor example, the WooCommerce API on WordPress websites, or even things such as payment gateway callbacks.
We can either make use of RewriteCond to exclude certain user-agents, IPs or URLs, or a slightly different approach is to only serve CAPTCHA pages for those pages that are actively under attack.
It’s quite common that when attacks happen, the attackers will keep hammering just a few particular pages, or sometimes only the frontpage. In cases like this, we can instead use explicit rewrite rules to only target these pages.
For example, if something is relentlessly hitting the front page, we can define the following in our .htaccess file:
RewriteEngine On
RewriteRule ^$ - [E=verifycaptcha]
If they’re hitting both our front page and /about-us, we can keep the rules fairly simple as such:
RewriteEngine On
RewriteRule ^$ - [E=verifycaptcha]
ReweriteRule ^about-us$ - [E=verifycaptcha]
Or using more complex rules:
RewriteEngine On
RewriteCond %{REQUEST_URI} ^/(|about-us)$
RewriteRule .* - [E=verifycaptcha]
To determine the attacked URLs, you can often tail the access log for the website, and simply determine by looking at the logs, what endpoints you’d like to block.
Another method is to use a mix of cut (or awk), sort and uniq:
cat access.log | cut -d' ' -f7 | sort | uniq -c | sort -h
This will, for example, give you a simple count of the most visited URLs on your website. URLs under attack will usually appear with a higher count, and you can simply run it a few times to see what keeps increasing steadily.
Another way is only looking at the past 50000 requests, for example. This may give a better picture. To do that, we can use tail -50000 access.log instead of cat access.log. You can see an example of such output here:
    241 /assets/images/da.png
    263 /assets/styles/style.css
    268 /assets/styles/main.css
    299 /blog
    328 /assets/scripts/popper.min.js
    331 /assets/images/en.png
    425 /assets/scripts/main.js
    445 /favicon.ico
    468 /robots.txt
 200081 /
Comments