OpenLiteSpeed + Go + Gin

In this blog we will talk about how to deploy Gin – a web framework written in Go – by using OpenLiteSpeed on Ubuntu 22.04.
By using OpenLiteSpeed Web Server as a reverse proxy, we can easily serve multiple apps in the backend via the same port. Rewrite is supported in the .htaccess file in case we need to redirect. Also, once we set up SSL, the HTTP/3 protocol will be ready instantly. In this blog, we use Gin as an example because it allows us to build web applications and microservices in Go. It contains a set of commonly used functionalities, like routing, and the performance is pretty good.
We will walk though the following processes on our server:
- Installing Go
- Setting up the Gin package
- Setting up the Gin service
- Setting up OpenLiteSpeed as a reverse proxy
- Setting up SSL (Optional)
- Configuring Security (Optional)
Installing Go
Install Go using snap on Ubuntu:
$ snap install go --classic
Console output:
go 1.18.5 from Michael Hudson-Doyle (mwhudson) installed
Enable the Go Modules feature, which will allow us to use modules regardless of whether they are in the GOPATH default:
$ go env -w GO111MODULE=on
Verify the settings with the following command:
$ go env
Console output:
GO111MODULE="on"
GOARCH="amd64"
...
Setting up the Gin package
Create an example project directory named gin-project and access the directory:
$ mkdir -p /var/www/html/gin-project
$ cd /var/www/html/gin-project
Create a go.mod file to track our code’s dependencies. Run the command from within the project directory:
$ go mod init gin-project
Check the content of the go.mod file:
$ cat go.mod
Console output:
module gin-project

go 1.18
To get the gin-gonic/gin package from GitHub, we will need to add the following content to the file:
module gin-project

go 1.18

require github.com/gin-gonic/gin v1.8.1
(Note we are using v1.8.1 in this example. Check for other versions here).
Run the following command, and the required package will be installed under the GOPATH/pkg/mod directory. A go.sum file will be generated. It’s a record file for the package and version:
$ go mod download
Now, we are going to download the gin package:
$ go get github.com/gin-gonic/gin
Console Output:
go: downloading github.com/gin-contrib/sse v0.1.0
go: downloading github.com/mattn/go-isatty v0.0.14
go: downloading golang.org/x/net v0.0.0-20210226172049-e18ecbb05110
go: downloading github.com/go-playground/validator/v10 v10.10.0
go: downloading github.com/pelletier/go-toml/v2 v2.0.1
go: downloading github.com/ugorji/go/codec v1.2.7
go: downloading google.golang.org/protobuf v1.28.0
go: downloading gopkg.in/yaml.v2 v2.4.0
go: downloading github.com/goccy/go-json v0.9.7
go: downloading github.com/json-iterator/go v1.1.12
go: downloading golang.org/x/sys v0.0.0-20210806184541-e5e7981a1069
go: downloading github.com/go-playground/universal-translator v0.18.0
go: downloading github.com/leodido/go-urn v1.2.1
go: downloading golang.org/x/crypto v0.0.0-20210711020723-a769d52b0f97
go: downloading golang.org/x/text v0.3.6
go: downloading github.com/modern-go/concurrent v0.0.0-20180228061459-e0a39a4cb421
go: downloading github.com/modern-go/reflect2 v1.0.2
go: downloading github.com/go-playground/locales v0.14.0
Using any text editor, create a file named main.go, and add the following example contents:
package main

import "github.com/gin-gonic/gin"

func main() {
    r := gin.Default()
    r.GET("/ping", func(c *gin.Context) {
        c.JSON(200, gin.H{
            "message": "pong",
        })
    })
    r.Run(":8080") // Listen and Serving HTTP on 0.0.0.0:8080
}
We might also want to run the following command to remove any unused dependencies:
$ go mod tidy
Output:
go: downloading github.com/stretchr/testify v1.7.1
go: downloading github.com/davecgh/go-spew v1.1.1
go: downloading github.com/pmezard/go-difflib v1.0.0
go: downloading gopkg.in/yaml.v3 v3.0.0-20210107192922-496545a6307b
go: downloading github.com/google/go-cmp v0.5.5
go: downloading github.com/go-playground/assert/v2 v2.0.1
go: downloading gopkg.in/check.v1 v1.0.0-20201130134442-10cb98267c6c
go: downloading github.com/kr/pretty v0.3.0
go: downloading golang.org/x/xerrors v0.0.0-20191204190536-9bdfabe68543
go: downloading github.com/kr/text v0.2.0
go: downloading github.com/rogpeppe/go-internal v1.8.0
Manually run the main.go file and test it:
$ go run main.go
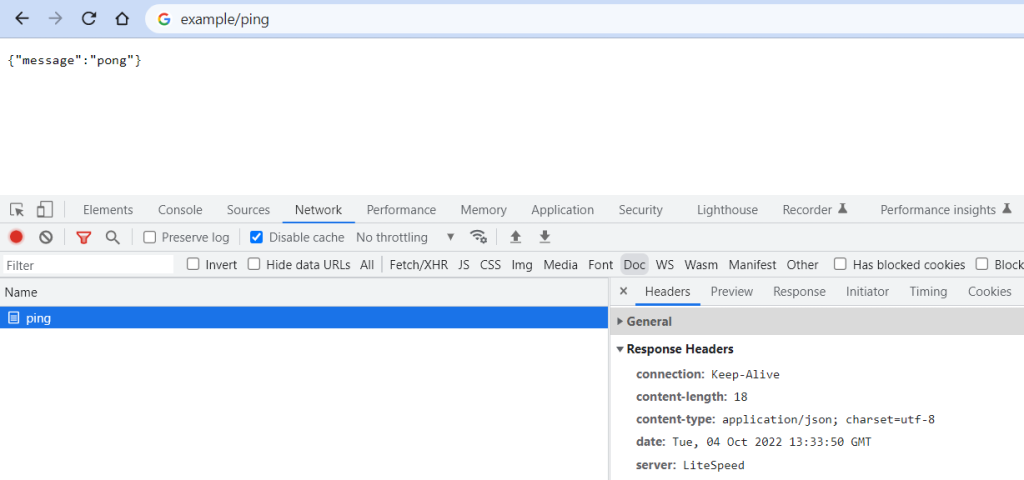
Visit the site or curl the http://127.0.0.1:8080/ping URl. We should get the following response:
{"message":"pong"}
Setting up the Gin service
In order to run the service with systemd service, we will need to build main.go, so we can get a binary file from it:
$ go build main.go
Create a gin service file at /etc/systemd/system/gin.service with the following content:
[Unit]
Description=gin

[Service]
Type=simple
Restart=always
RestartSec=3s
ExecStart=/var/www/html/gin-project/main

[Install]
WantedBy=multi-user.target
Start the service and check the status:
$ systemctl start gin
$ systemctl status gin
Console Output:
● gin.service - gin
     Loaded: loaded (/etc/systemd/system/bin.service; disabled; vendor preset: enabled)
     Active: active (running) since Tue 2022-10-04 07:14:09 UTC; 45s ago
   Main PID: 25971 (main)
      Tasks: 5 (limit: 1119)
     Memory: 5.4M
        CPU: 23ms
     CGroup: /system.slice/gin.service
             └─25971 /var/www/html/gin-project/main
Setting up OpenLiteSpeed as a Reverse proxy
The fastest way to set up the OpenLiteSpeed web server with proxy settings is to rely on the ols1clk script with the proxy setup option --proxy-c. It will set up an External Applications – Web Server with default value http://127.0.0.1:8080 and a Proxy Context in the Example virtual host:
$ bash <( curl -k https://raw.githubusercontent.com/litespeedtech/ols1clk/master/ols1clk.sh) --proxy-c
After the installation, we can visit http://example.com/ping in the browser (replacing example.com with our actual domain):
If we want to modify the default value or add more proxy content for more backend services, we can access the LiteSpeed Web Admin at port 7080 to configure it further.
Setting up SSL (Optional)
Setting up an SSL certificate enables HTTPS on the web server, which secures the traffic between the server and the clients connecting to it. Certbot is a free and automated way to set up SSL certificates on a server.
The first thing is to install the Certbot package to the system:
$ apt-get install certbot -y
To use Certbot, we’ll need a registered domain name and DNS records:
- An
Arecord from the domain (e.g.,example.com) to the server’s IP address - An
Arecord from the domain prefaced with www (e.g.,www.example.com) to the server’s IP address.
Once the DNS records are set up, we can generate the SSL certificate by following the instructions in the OpenLiteSpeed KB.
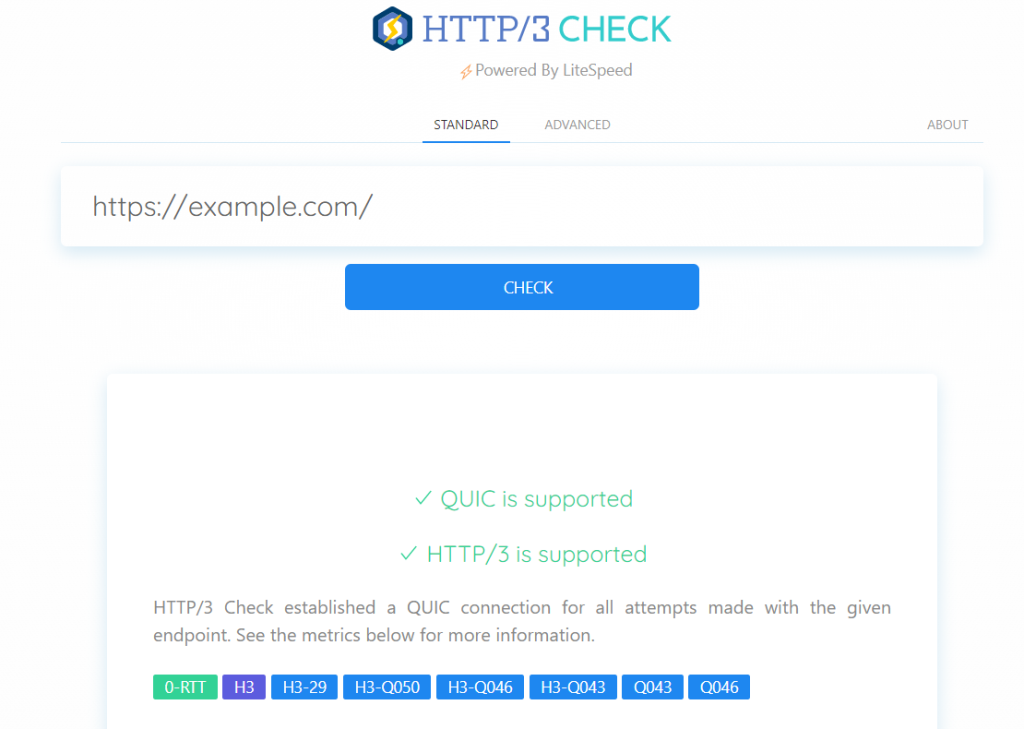
After setting up SSL on OpenLiteSpeed, we can test our site, or any site on the Internet, with the free HTTP/3 Check tool. Enter a URL, and HTTP/3 Check will tell us whether QUIC or HTTP/3 is supported by that site.
Configuring Security (Optional)
There are several built-in security features that we could implement, for example reCAPTCHA, Per-Client Throttling, WAF, etc.
reCAPTCHA
OpenLiteSpeed features reCAPTCHA as a method of defense against DDoS attack. When a visitor accesses the website, they will need to go though reCAPTCHA validation. After passing the reCAPTCHA validation, the visitor is temporarily allowlisted as long as they continue to browse the site. Once the visitor has become inactive, reCAPTCHA is once again enabled for that visitor’s next request. We can follow the reCAPTCHA Security Guide to enable the feature.
Per-Client Throttling
OpenLiteSpeed includes a built-in Per-Client Throttling feature which allows you to block bad IPs, as well as limit the request, bandwidth, and connection rate per remote IP address. We can follow the Per-Client Throttling Security Guide to enable the feature.
Comments